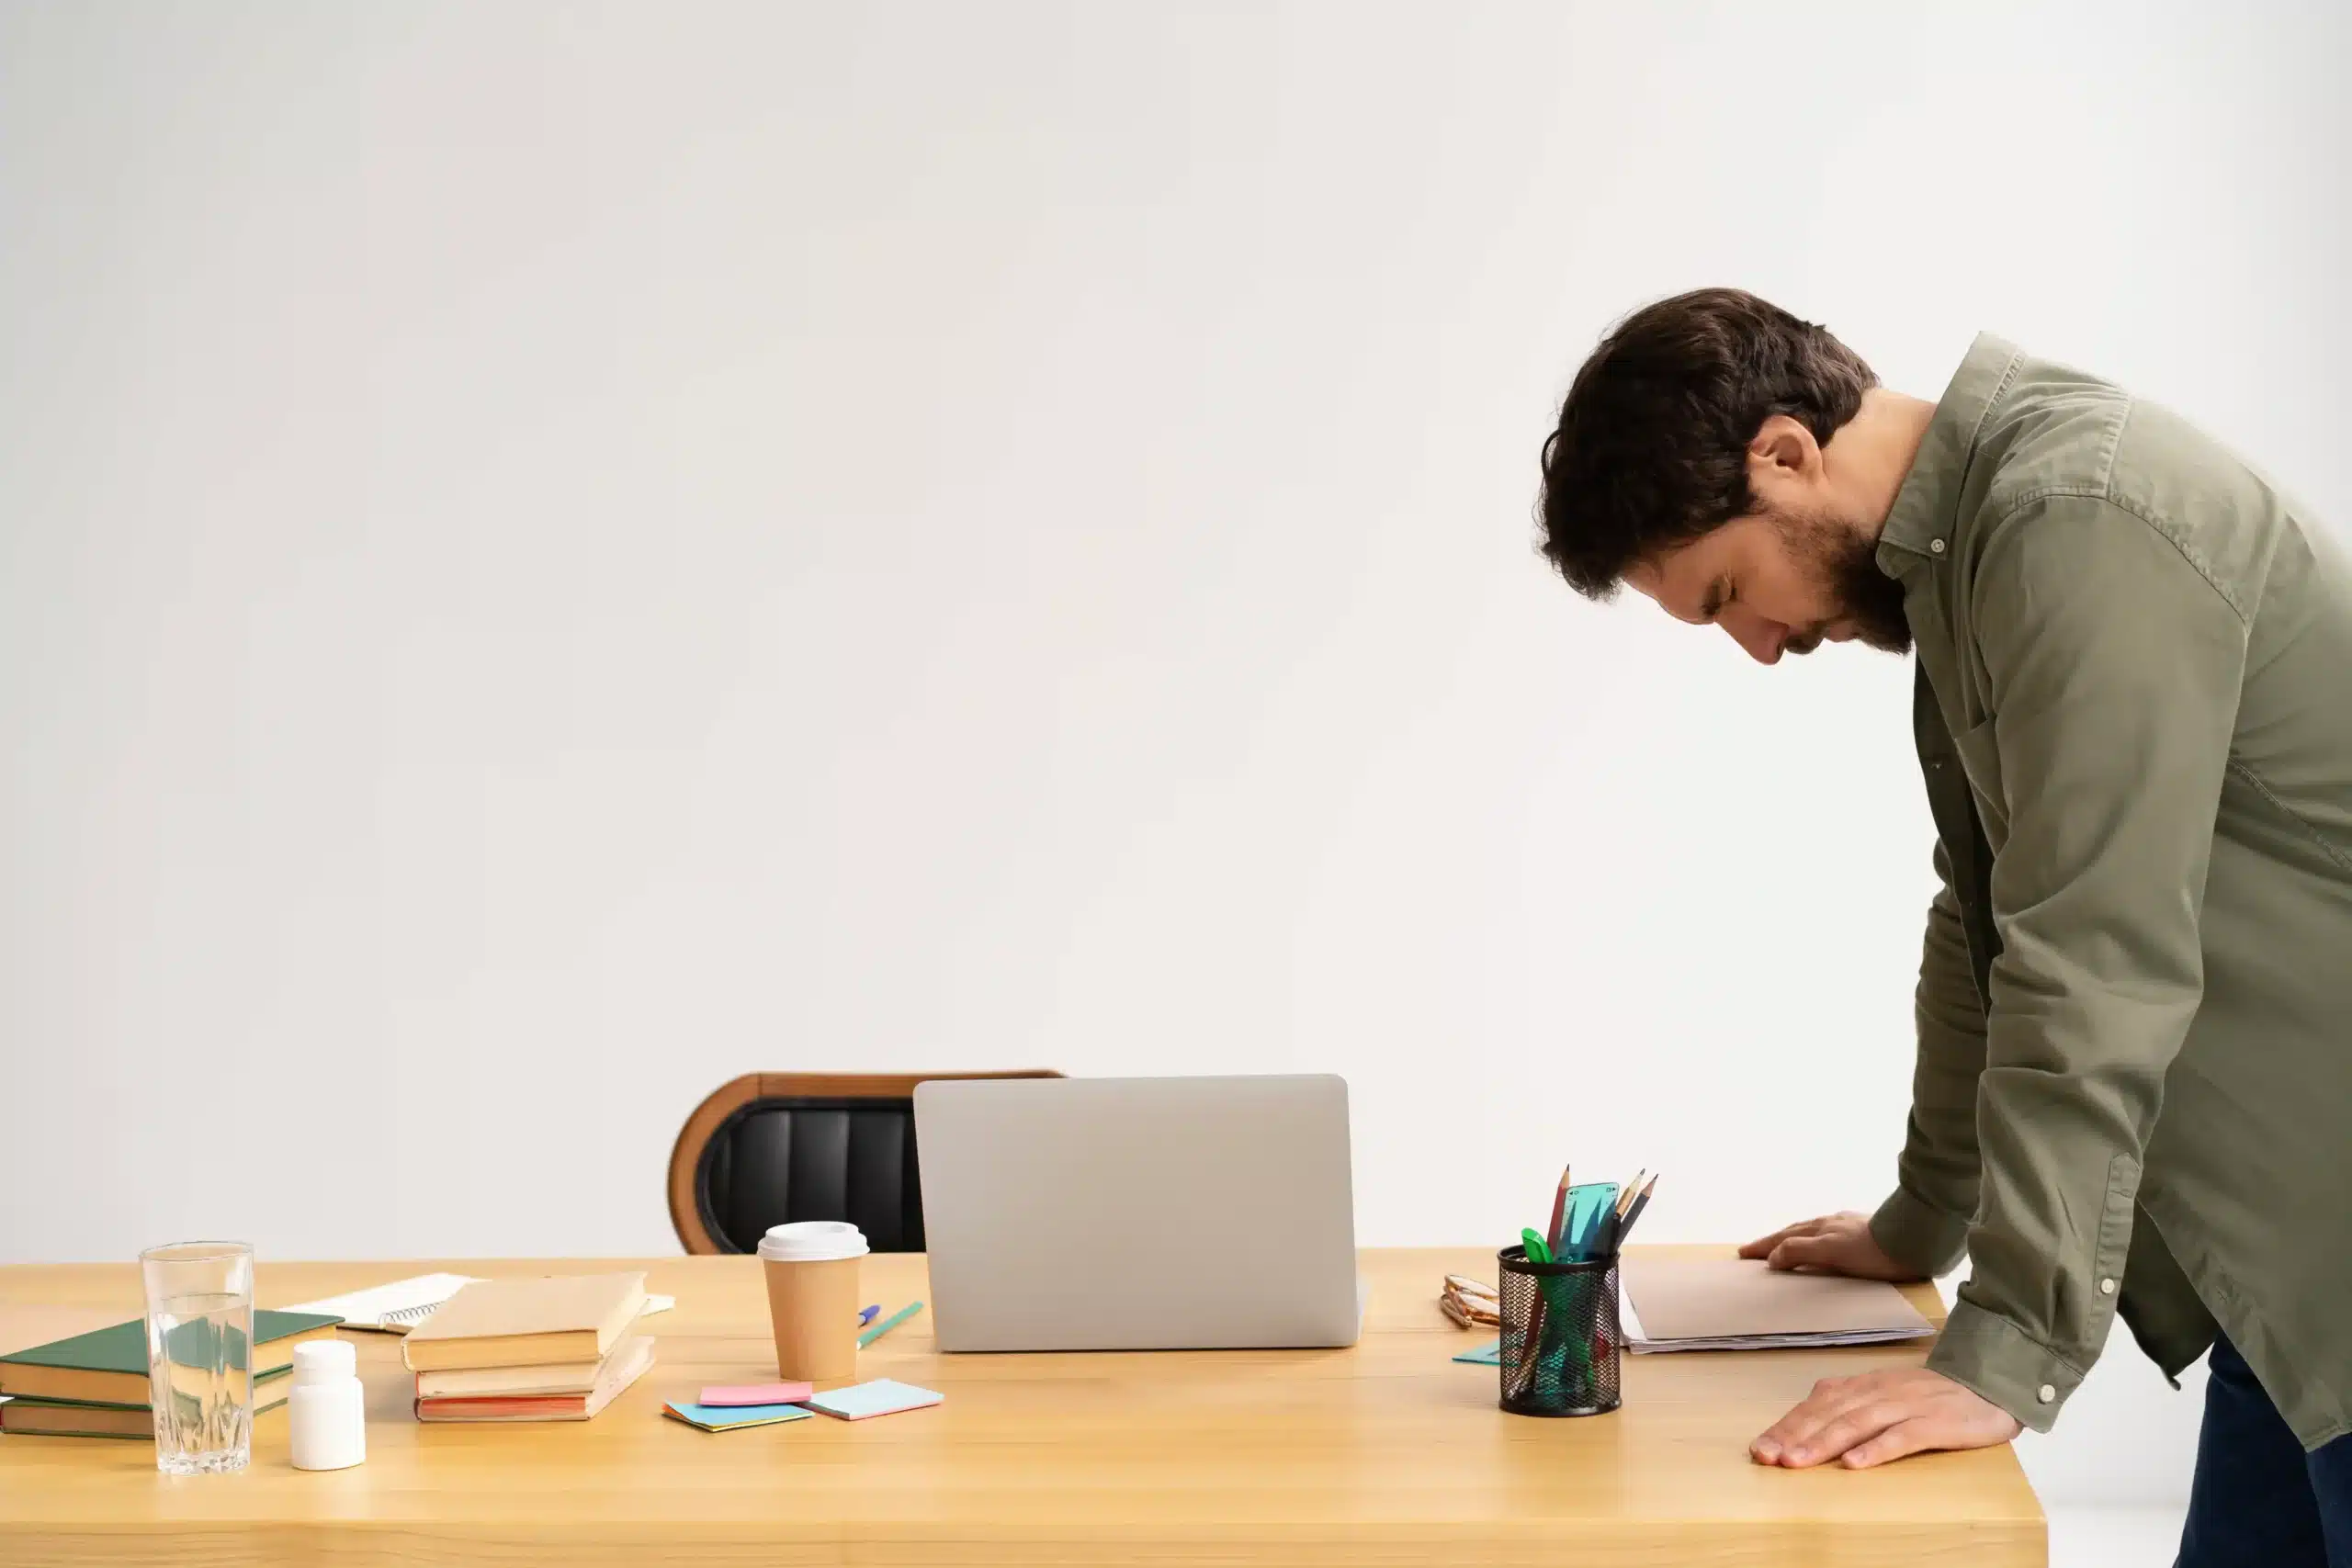
Most office desks are sturdy and designed to last for years of regular use and to accommodate electronic equipment on top. Their durability is both positive and challenging when you need to disassemble a desk for relocation or storage. While desks don’t fall apart easily, they do require the proper skills to disassemble without damaging the components or your home. This guide covers the entire process of how to disassemble an office desk with clear instructions that simplify the task.
When Should You Disassemble Your Office Desk?
Disassembling your office desk isn’t always necessary, but certain situations make it the smart choice. Once you understand these scenarios, you can avoid any moving day complications.
- Tight doorways or narrow halls: Your desk needs to be taken apart if it won’t fit through the doors and hallways in your office without forcing or tilting. To do this right, measure your doorways and halls first, then compare the measurements with the overall size of your office desk. This helps you prevent wall scratches and furniture damage during the move.
- Long-distance moves: Moving over 400 miles means that your office desk will be spending a lot of time bouncing around in a truck. Dismantling large desks for these long-distance moves protects them from the constant movement and vibration.
- Protecting fragile parts or glass: Glass surfaces and delicate decorative pieces need separate wrapping, which can’t be done if they’re still attached. Remove these vulnerable components first and pack them with cushioning. You may also want to disassemble desk chairs to protect fragile parts.
- Easier loading and handling: Bulky desks create unnecessary strain on movers and take up awkward space in the truck. However, smaller, separated pieces allow for better organization and safer lifting during the move.
Tools and Materials You’ll Need
Having the right equipment ready before you start prevents delays and protects your furniture from damage. The same principles that apply when disassembling office chair components work well for desks as well. Here are some tools you should have on hand to accomplish this task.
Screwdriver
Screwdrivers remove the metal screws that hold desk drawers, panels, and brackets in their positions. Office desks typically use both Phillips head screws and flathead screws throughout, so having the two types of screwdriver heads ready eliminates mid-project searches through your toolbox.
Allen Wrench or Hex Key
This six-sided tool loosens the hex bolts that anchor heavy desktop slabs to their metal frame supports. Many prefer hex bolts over regular screws because they distribute weight more evenly and resist loosening over time.
Drill
A battery-powered drill can spin out stubborn screws that resist manual removal after years of use. The reverse setting prevents you from accidentally tightening fasteners when you mean to loosen them.
Ziplock Bags
Ziplock bags organize and protect small hardware pieces from getting lost or mixed up. Sort screws, bolts, and washers by type or desk section to streamline your reassembly process.
Marker and Masking Tape
Masking tape keeps the components together, and a marker helps write identification numbers on each piece. This simple system tracks what hardware belongs to which desk part during reassembly.
Moving Blanket or Mat
Thick padding protects your desk’s finish from scratches when you place it on hard surfaces. It also provides a clean workspace for organizing parts as you remove them. Additionally, it prevents small components from bouncing off if you accidentally drop them.
Instruction Manual
The assembly guide shows the proper sequence to take apart your specific desk model safely. By following the manufacturer’s recommended process, you’ll avoid causing damage to any hidden mechanisms or delicate joints. The instructions also warn you about components that need special attention during removal.
Camera or Phone
Taking pictures of each disassembly step gives you a reference for future reassembly work. Close-up shots capture the exact position of brackets, cables, and connectors that might look confusing once detached from the main structure. Photos become invaluable when you need to reassemble the original configuration days or weeks later.
Safety Tips Before Starting
Follow these preparation steps to avoid common accidents and to protect your furniture while dismantling it.
- Clear the desk surface completely: Clear everything from the desk, including items stored in drawers, shelves, and compartments. After emptying the storage areas, disconnect your computer, monitor, and any other electronics from the desk. This prevents objects from falling or breaking when you’re working, and gives you better access to the desk’s bolts and screws.
- Work on a flat surface with padding: Spread out old blankets, towels, or cardboard on the floor where you’ll be working. The soft padding underneath protects your furniture and floors from getting scratched.
- Wear gloves to avoid pinches: Cover your hands with work gloves since desk hardware has sharp edges that can easily cut your fingers. You should also wear safety goggles so dust and tiny particles won’t fly into your eyes when working.
- Keep children and pets away from the work area: Make sure young children and pets stay out of your workspace while you’re taking the desk apart. Small hardware pieces can be dangerous if swallowed, and heavy desk components are also dangerous.
Step-by-Step Instructions: How to Disassemble an Office Desk
Here are the complete steps to safely disassemble your office furniture while keeping every component organized for easier reassembly.
1. Take Reference Photos
Before removing any components or hardware, start by taking pictures of your entire desk setup. Focus on areas where different sections connect together, making sure to capture screw locations and joint details. When you place small strips of masking tape on each component and write numbers or letters, you can identify their exact positions and which direction they face.
2. Unplug Electronics and Remove Cables
First, disconnect the power cords from the wall outlets and turn off all of your electronic devices. Next, unplug all of the cables from desk lamps, printers, monitors, and PCs. You can use different colored tape on each cable type to remember where they plug back in later. Finally, remove any plastic trays or clips under your desk that hold wires in place by unscrewing them.
3. Remove Any Glass or Detachable Accessories
If your desk has a glass top, look underneath for the screws or the metal brackets that secure it. Carefully remove the fasteners using a screwdriver, putting each screw in a small container or bag. For heavy glass surfaces, ask someone to help you lift it off since glass can slip from your hands easily and cause serious cuts.
4. Take Out Drawers
Pull each drawer out as far as it goes, then feel along the metal tracks on both sides for small tabs or buttons. Push these release points while pulling the drawer toward you until it comes completely out of the desk. To make the drawers less heavy, empty everything first. Additionally, see if there’s a keyboard tray beneath your desk that has removable screws. You can usually spot these trays right away since they slide in and out like drawers, but sit much lower.
5. Disassemble Desk Legs or Frame
Flip your desk over carefully or crawl underneath to see where the legs attach to the desktop with bolts or thick screws. Work your way around all four legs in the same pattern, loosening each fastener with a screwdriver or a wrench. To keep a desk leg from falling and denting your floor, use one hand to hold it steady while using the other to remove the final screw.
6. Separate The Desktop
Look for any screws, bolts, or cam locks holding your desktop to the frame at all of its edges and corners. Using a flat tool, carefully pry off decorative strips or plastic covers that hide some fasteners. While a helper supports the weight from below to keep the desktop from falling, disassemble it by removing every connection point. If the top still feels stuck after removing all visible hardware, double-check for any missed connections rather than forcing it apart.
7. Disassemble Any Shelving or Hatches
Upper storage units come apart in stages, starting with individual shelf removal from their supports. Look for adjustable shelf pins or fixed brackets that hold each shelf in position within the frame. Remove the hutch structure itself by taking off the back panels first, followed by the side supports and their connecting hardware.
8. Label and Pack Parts
Get small plastic bags and sort all your screws and bolts by which part of the desk they came from. Label each bag with a marker, such as which leg or section the hardware belongs to, so that you won’t have to guess later. Tape each bag onto its matching furniture piece so nothing gets separated during the move. Wrap the big pieces, like the desktop and the legs, in thick blankets or bubble wrap to keep them from getting scratched or dented.
Special Instructions for Different Types of Desks
Different types of desks require specific ways of being safely and correctly disassembled.
1. L-Shaped and U-Shaped Desks
Start by disassembling each side of your corner desk individually instead of trying to do everything at once. Before you unscrew anything, make sure you label the left and right components so that you know what goes where later. There might be glass parts on these desks that need to be removed first and wrapped carefully to avoid breakage during the move. You’ll need to disconnect both the top connecting pieces and the bottom support pieces that keep the sections stable when the desk is in use. Work with a helper to pull the sections apart gently once all the connecting parts are removed, then put all screws and small pieces in separate bags with clear labels.
2. Standing Desks
Always disconnect the power source first by unplugging the desk completely from the wall before you start disassembling anything. These desks have motorized parts inside them that lift and lower the desk, so you need to take the motorized base out very carefully to avoid damaging the motor. Keep all of the electronic parts dry throughout the process since water can damage the electrical components irreversibly. Wrap the base and the control boxes in blankets or bubble wrap to protect them while moving.
3. IKEA/Flat Pack Desks
Find your instruction manual and work backwards through each step, starting from the end and going back to the beginning. Use the hex keys and Allen wrenches that came with your desk, as they work much better than other tools. Remove any drawers by pulling them out completely, checking first to see if any clips or screws are holding them in place. Turn the desk upside down to reach the screws underneath, then remove them to separate the desktop from the frame and the legs.
How to Store or Move Disassembled Desk Parts
Below are essential steps you should take to protect your desk parts and to make your move successful.
- Use blankets or pads to wrap each part: You should cover all desk pieces with moving blankets or furniture pads to prevent damage. Wrapping creates a cushioned cover that avoids scratches during transport.
- Store flat and stack in the truck securely: Place your heaviest desk parts on the bottom first to build a strong foundation for stacking. Then carefully add lighter pieces on top while keeping everything balanced and stable. Use moving straps or a rope to tie down all components so they stay in place while driving.
- Keep hardware bags attached to each item: Sort your screws, bolts, and small parts into separate plastic bags with clear labels. Make sure you tape each hardware bag directly onto its respective desk piece so you don’t lose important parts.
- Avoid placing heavy items on top of glass or MDF boards: Glass tops and MDF board surfaces need extra care because they crack or dent when too much weight presses down on them. Position these delicate parts standing upright when space allows to eliminate downward pressure.
Common Mistakes to Avoid
Here are the major pitfalls to look out for that can make your desk disassembly a frustrating experience.
- Forgetting to label screws and parts: Once you remove the hardware parts, they all start to look the same. This similarity is a problem when you try to put everything back together later. Without clear labels, you’ll be tempted to force the wrong parts together, which can break your desk or strip the screws completely.
- Using the wrong size screwdriver: A screwdriver that doesn’t fit properly will damage your screws and make removal much harder. If the tool is too small or large, you’ll likely strip the screw head beyond repair.
- Rushing the disassembly and damaging particleboard: Moving too fast during takedown often leads to cracked panels and broken joints. Particle board materials are especially fragile since they chip and crumble easily when you apply excessive force. This same patience applies when you disassemble office chair parts, since sudden movement can break plastic connectors and bend metal brackets.
- Not keeping instructions or reference photos: Memory alone isn’t reliable for complex furniture assembly sequences. Without any documentation, you’ll spend hours trying to figure out what parts go where and in what order.
- Misplacing small components: Loose screws and tiny brackets are easily lost if you don’t store them properly. Random boxes or pockets lead to missing components that are difficult to find later. Using separate labeled containers for each furniture piece keeps everything organized and ready for reassembly.
When to Call a Professional
Even with the right tools and instructions, disassembling multiple office chairs and desks can quickly become overwhelming, especially when you have tight moving deadlines and business operations to maintain. Rather than spending hours figuring out complex desk mechanisms or risking damage to expensive furniture, Serenity Moving Services handles the entire disassembly process for you. If you want your desks, chairs, sofas, and office equipment disassembled and moved quickly while you keep working, our team can complete your commercial move with minimal business disruption. Request a free quote today and let us handle all the heavy lifting and technical work.
Frequently Asked Questions (FAQs)
It depends on your desk’s style and how many parts it has, with simple models taking much less time than complex ones. Your familiarity with taking apart furniture and having the proper tools within reach makes a big difference.
Disassembling your office desk isn’t always necessary, but it usually makes moving much easier and safer. Taking down your desk helps protect your furniture from scratches and allows you to get through small doorways more easily.
You’ll require Phillips and flathead screwdrivers, and a set of Allen keys for hexed screws. Other handy tools include adjustable wrenches, a small hammer, pliers for tight spaces, wire cutters if cables are involved, and ziplock bags to keep screws with labels.
Firstly, take everything out of the drawers to make them lighter, and then pull each drawer completely out of its slider unit. After removing the drawers, you can disassemble the main desktop from its supporting structure and then tackle the frame pieces individually. Put all the screws and hardware in separate labeled bags so you have an exact idea of where each part goes when reassembling.
Most office desks can easily be put back together if you planned well ahead during takedown. Success really comes down to keeping your parts organized, having clear instructions or photos, and working carefully during reassembly.


