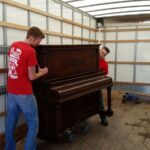
Pool tables are room centerpieces that can give you years of fun right in your home, but moving one is no easy task. Their multi-layered design and detailed setup mean that moving a pool table upstairs or downstairs takes more than just muscle and a truck. Rushing through or skipping steps can result in cracked slate, torn felt, or never being able to play quite right again. In this blog, we’ll walk you through how to move a pool table step by step, from preparation to tools, and the techniques to do it properly.
Why Moving a Pool Table Is Challenging
Moving a pool table without disassembly can be challenging, and here’s why.
- Massive weight: Most pool tables weigh between 700 to 1,000 pounds, making them a real struggle to lift and move without professional help.
- Risk of damage: The pool table cloth tears easily, the wooden rails chip from impacts, and the stone base cracks if handled roughly.
- Moving it through a house: Assembled tables won’t fit through doorways, so you’ll need to remove rails and pockets, peel back the fabric, and lift out each slate section individually.
- Achieving perfect levelness: The surface must be absolutely flat for proper ball roll. Otherwise, you’ll spend a lot of time adjusting the legs and adding shims until everything sits level again.
- Vulnerability to weather conditions: Wooden frames warp from humidity and temperature changes, while continuous bumping and jolting threaten the slate’s integrity.
Tools and Materials
Having the proper tools ready before you start prevents delays and protects your table from damage. Here’s everything you should gather.
1. Power Drill
A cordless drill makes removing the slate screws and disassembling the legs much faster than working by hand. A cordless drill makes removing screws much faster than working by hand. You’ll use this tool to take out the fasteners holding the slate to the frame and to disassemble the legs.
2. Socket Wrench
This tool loosens the bolts that secure the rails and the legs to the table body. Some older tables use two-hole bolts that won’t work with standard sockets, and they require a forked tool.
3. Flathead and Phillips Screwdrivers
Your drill won’t reach every fastener, but a flathead screwdriver can, as well as scrape wax off hidden screws. Both types of screwdrivers are required for disassembly throughout your pool table.
4. Staple Remover
This tool has a thin, angled tip designed specifically for sliding under and lifting staples without damaging felt. Using a screwdriver instead would likely tear the fabric.
5. Measuring Tape, Painter’s Tape, and Packing Tape
A measuring tape helps you determine the size and the position of components before disassembly, which helps during reassembly. Painter’s tape helps you label each part without leaving sticky residue on the wood surface. Packing tape holds the protective blankets in place around the wrapped components during the move.
6. Moving Blankets
Thick moving blankets prevent scratches and dents on the pool table parts during moving. Each slate piece needs its own blanket because the stone chips easily.
7. Bubble Wrap and Stretch Wrap
Bubble wrap cushions fragile components, such as pockets and trim, that can be easily damaged under pressure. Stretch wrap secures the protected pieces together so they don’t shift or rub against each other in transit.
8. Furniture or Appliance Dolly
A furniture dolly is used to transport the frame pieces and wood parts across the floor without straining your back. The slate requires an appliance dolly because these heavy pieces must be transported standing upright on their edge.
9. Lifting Straps
Lifting straps distribute weight to your shoulders and legs rather than your back, making heavy slate manageable. This is because the weight is now evenly spread out.
10. Labels and Markers
Writing clear labels on each component tells you where it goes when you rebuild the pool table. A numbering system for rails and slate pieces eliminates the need for guesswork during reassembly.
11. Zip-Top Bags
Small hardware like bolts and screws can disappear easily, so putting them into labeled bags keeps everything organized. Each bag should identify which part of the table the hardware came from.
12. Plastic Sheeting
Waterproof plastic protects your slate and felt from moisture and dust during transportation. Because humidity warps wood and damages fabric, it affects the performance of your pool table.
13. Moving Truck or Van
The moving vehicle should have enough space to fit your longest pieces without bending them at angles. Quality straps secure all components so they won’t slide around and get damaged during the drive.
14. Gloves and Safety Glasses
Work gloves give you a better grip on smooth surfaces and protect your hands from splinters and pinches. Safety glasses are also necessary to protect your eyes from dust and staples that may accidentally hit them during disassembly.
15. Level
A level will help you make sure your pool table’s playing surface is completely flat and level when it’s time to assemble it at your new home. Without a surface like that, a pool table is basically unusable, and this is the best way to guarantee that this doesn’t happen.
Prepping the Pool Table
Before you start disassembling your pool table, you need to prepare your home and vehicle properly. Here’s what to do first.
- Measure doorways, hallways, and staircases: Use measuring tape to check every opening along your path to know in advance if pieces will fit through.
- Clear a path to avoid obstacles: Move furniture and anything else that could be in your way or cause tripping, spread blankets to protect the floors, and add foam guards on wall corners to prevent scuffs and dings.
- Plan the loading order when using a truck or trailer: Load the frame first, lay the slate flat on top of thick padding, stack lighter rails and legs last, and secure everything with straps.
Step-by-Step Instructions: How to Move Your Pool Table
Here’s everything you need to know to disassemble and relocate your pool table properly.
1. Remove the Pockets
Begin your disassembly by taking out the ball pockets from each corner and side of the table, checking underneath to see whether they’re secured in place with staples or screws. Use the right tools to remove them gently so that you don’t ruin the pocket material. Then, store them safely, and put all the small hardware into labeled bags.
2. Take Off the Rails
The padded rails running around the edges of the pool table need to be taken off next. Locate the bolts underneath that connect each rail section to the frame, and use a socket wrench to remove them. Mark which rail came from which position, since they fit best in their original spots after years of settling.
3. Remove the Felt
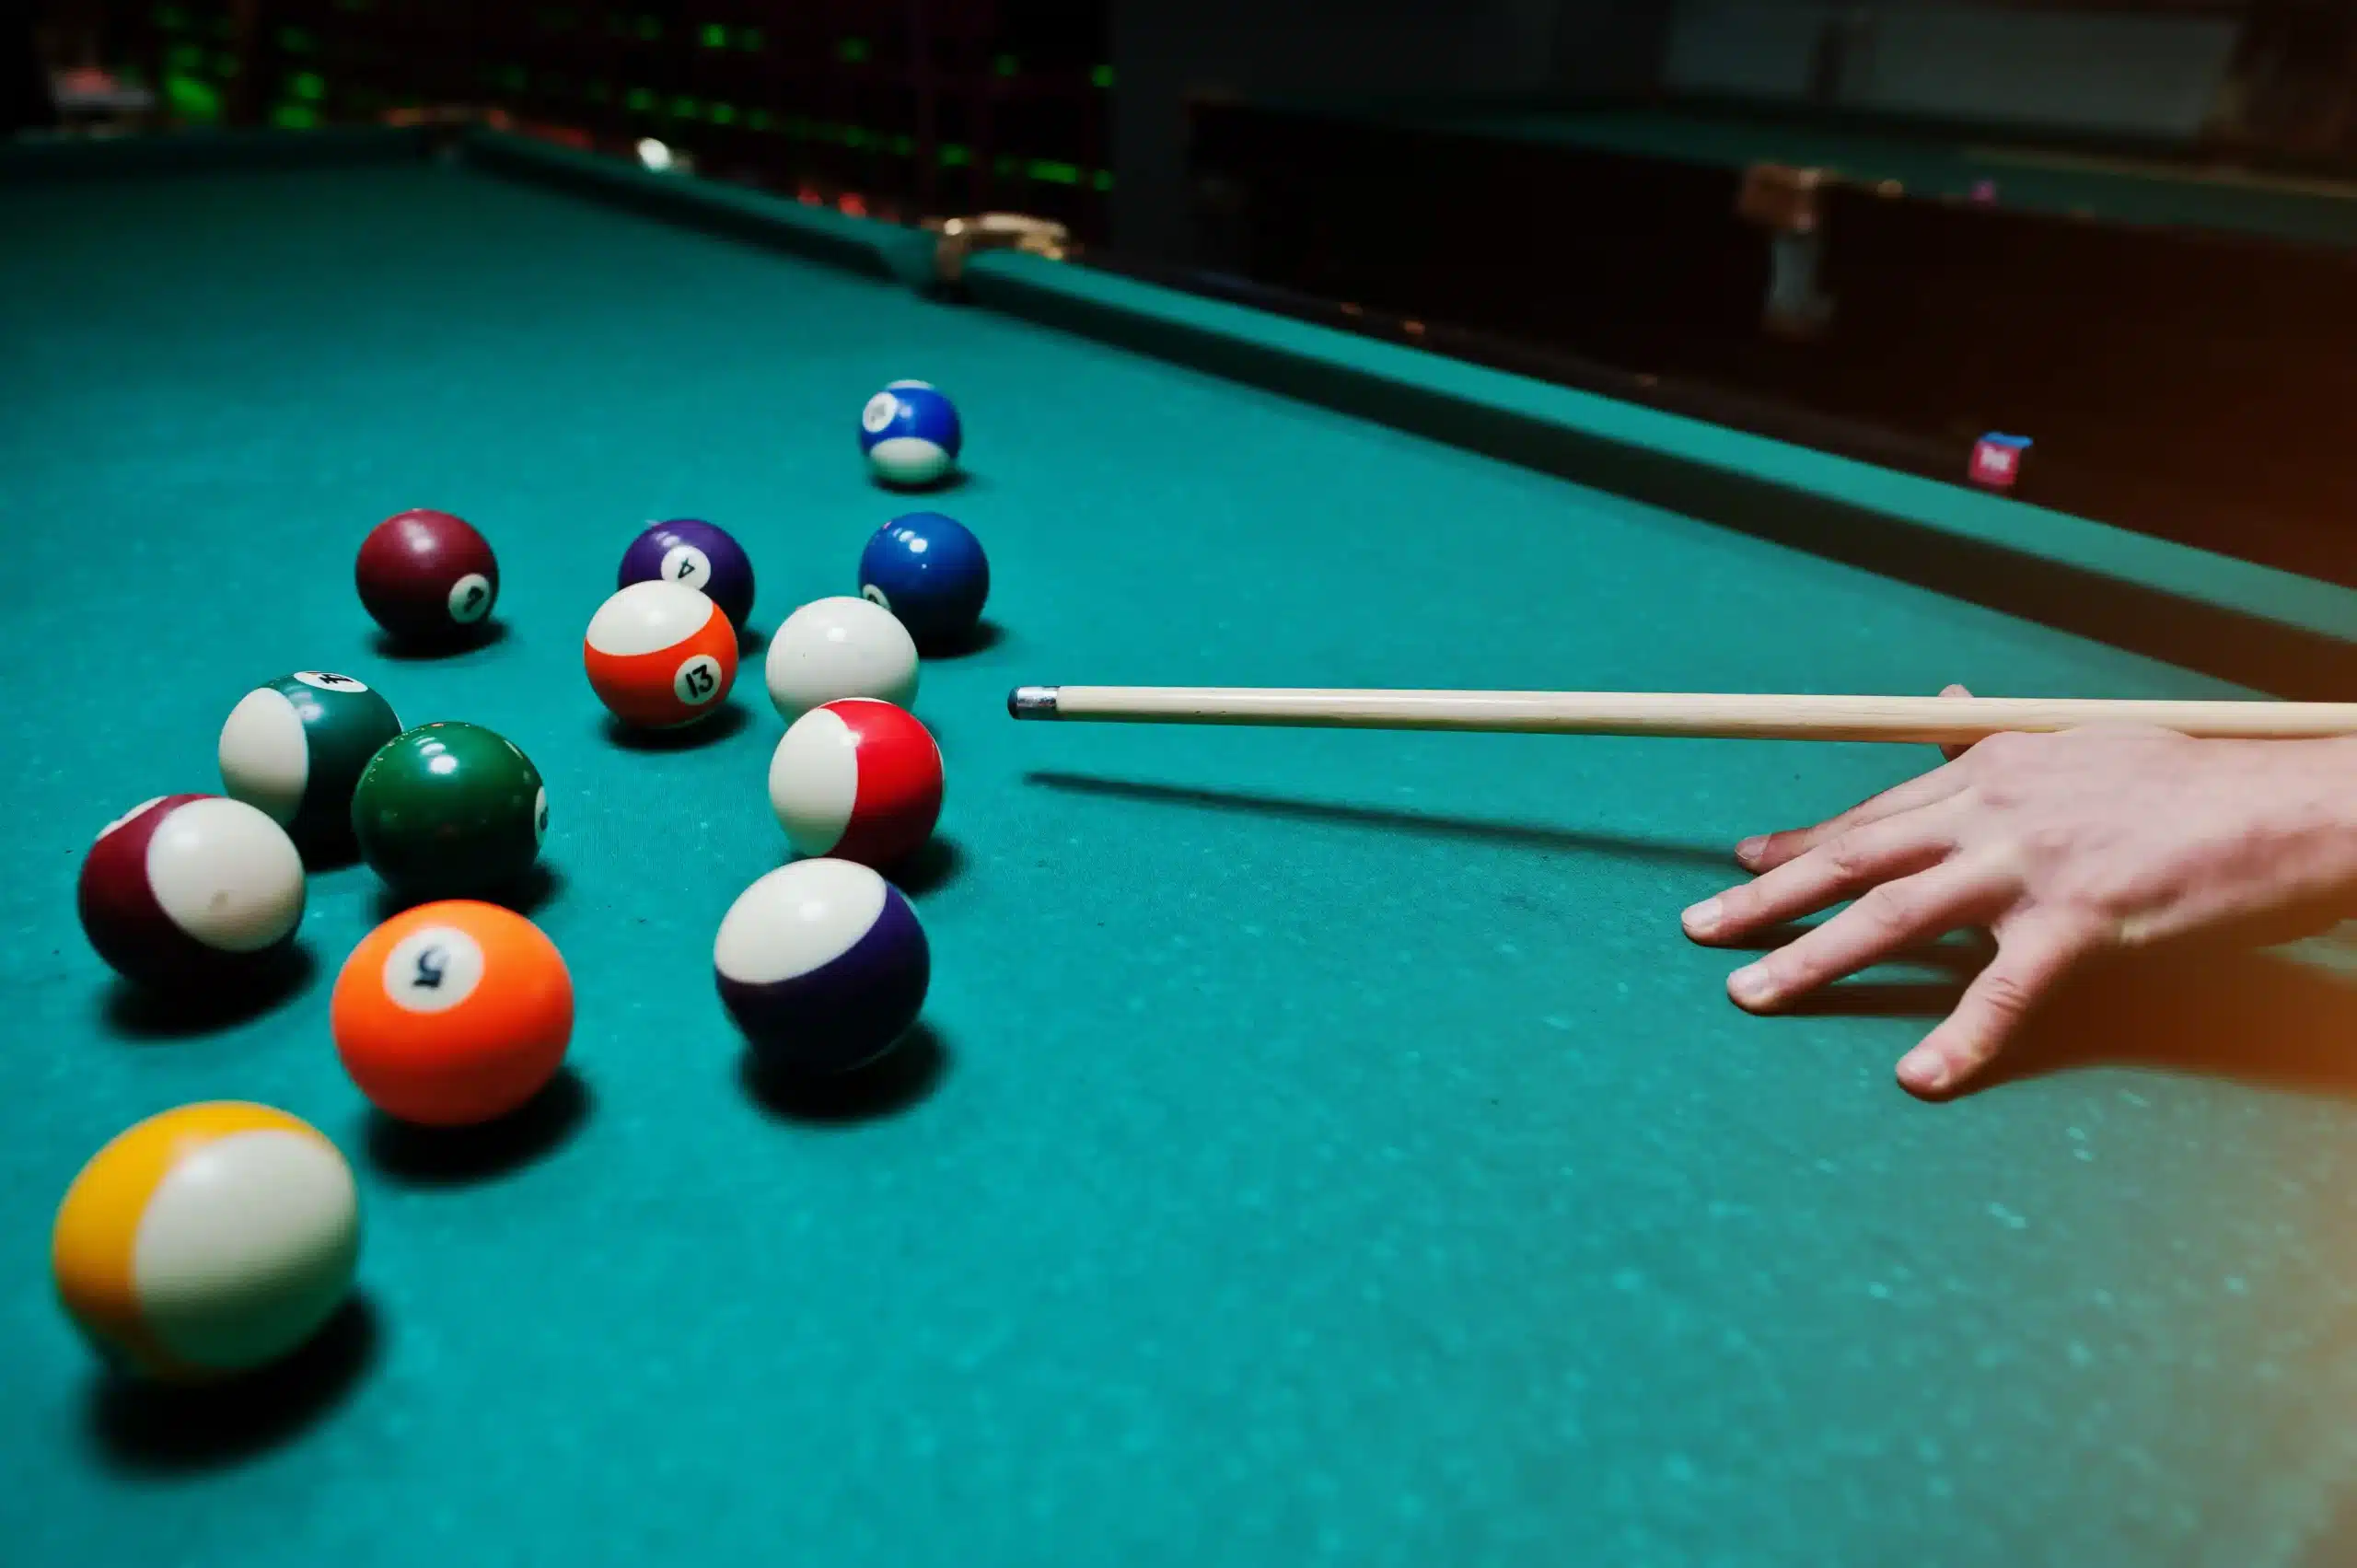
Your table’s playing surface is covered with felt that’s either stapled around the edges or glued directly to the slate underneath. If you see staples, use a staple remover to carefully remove them. For glued felt, start at one corner and peel it back slowly.
4. Separate the Slate
Once the felt is off, you’ll see the slate surface that gives your pool table its smooth, flat playing surface, which could be a single piece or three pieces. Find all the screws holding the slate down and remove them with a drill. Get at least two people to help you lift each slate piece because even smaller sections can weigh over 100 pounds. Stand the entire slate or the slate pieces upright on a padded moving dolly instead of laying it flat, which prevents cracks from forming under the weight.
5. Disassemble the Frame and the Legs
The last step involves separating the legs from the main frame structure. Have your helpers assist you in carefully tipping the frame onto thick blankets, then use a drill to unscrew each leg and place the hardware in separate, labeled bags.
Reassembling Your Pool Table
Now that everything has arrived at your new place, it’s time to reassemble your pool table, following the steps below.
- Position the frame: Place the frame exactly where the table will be located and attach each leg securely.
- Reinstall the slate and the felt: Wipe down the frame’s top and the slate, then place each slate section back in the same order you removed it, using the level or shims to make sure the surface is flat. Apply melted beeswax between the seams of the pieces. Stretch the felt over the slate, making sure the surface doesn’t have wrinkles, and secure it in place with a staple gun.
- Attach the rails and the pockets: Arrange the rails according to your notes and labels, thread the bolts through the holes, keep everything loose for adjustments until the rubber edges align, and then install the pockets.
- Level the table: The entire playing surface needs a final check now that all parts are in place. Move the level across different sections and make small tweaks with the leg adjusters or add extra shims.
- Test the reassembled table: Roll a ball across it thoroughly, watch how the ball behaves, listen for sounds that indicate the surface is uneven, and note how the ball lands in each pocket. Make final adjustments as needed.
How Serenity Moving Services Can Help
Pool tables are both heavy and delicate, which makes moving them a job best left to professionals who have the know-how. Serenity Moving Services employs trained movers who use the right tools to handle your pool table without causing damage to it or your property. We manage everything from disassembly to reassembly at your new place, so you can use your pool table just like you did before. To learn more or schedule your move, call us today, and remember, customer service is our #1 priority.
Frequently Asked Questions (FAQs)
Can I move a pool table without taking it apart?
You can move a pool table without taking it apart, but only within the same room and for a few feet. Beyond that distance, it must be disassembled to prevent damage.
How many people are needed to move a pool table?
You’ll need at least two helpers, but four would be best.
How heavy is a slate pool table?
A slate pool table weighs between 500 pounds for 6-foot models and over 2,500 pounds for 12-foot tournament sizes, with typical home tables weighing between 700 pounds and 1,300 pounds.
How much does it cost to hire professionals to move a pool table?
Professional moves average $650 but range from $300 to $4,000. Your total cost of moving a pool tabledepends on the table’s size and weight, the moving distance, disassembly and reassembly needs, and local rates.
Is moving a non-slate table easier?
Non-slate tables are much lighter, since they’re made from materials like plywood or synthetic surfaces and don’t require specialized disassembly like slate tables.
How can I move a pool table without disassembly?
You can use furniture sliders, dollies, and lifting equipment to move a pool table without disassembly. This method only works for very short moves, like repositioning within the same room or in an adjacent room with easy access.
Can I move a pool table upstairs and downstairs?
Pool tables must be fully disassembled to carry them upstairs or downstairs because the assembled table is too heavy and bulky to fit through stairways safely.